
A bathroom countertop isn’t just a base for the sink, it’s also an area in constant contact with water, cosmetics, and household chemicals. Choosing the right material and installing it correctly helps prevent swelling, cracks, leaks, and warping, while also simplifying cleaning and extending the life of the cabinet.
The key to a reliable result is accurate measurements, preparing the base, and sealing all joints. If you’re planning a comprehensive renovation and simultaneously replacing plumbing fixtures, tiles, and wiring, it’s convenient to integrate the countertop installation into the overall renovation, including bathroom renovation charlotte nc.
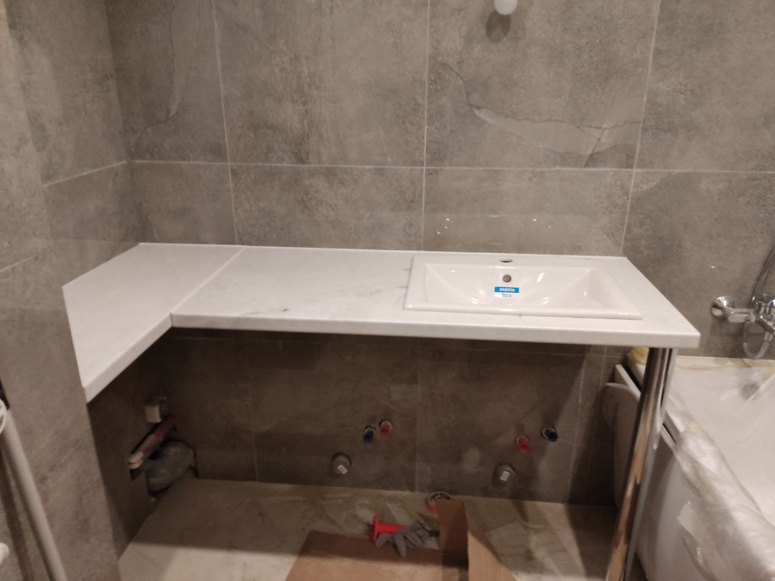
Countertop Installation Methods
The installation method is selected based on the type of base (cabinet, console, niche), the weight of the countertop, and the size of the sink. Regardless of the method, level support and moisture protection of the joints are essential.
1) On the cabinet (the most common option)
- Preparing the cabinet: Check the diagonals, level, and frame rigidity; reinforce the top frame and ties if necessary.
- Fitting: Align the countertop, mark the position of the bowl/faucet, and check the clearances to the walls.
- Fastening: Secure using the cabinet’s standard corners/fasteners or mounting strips; Avoid «hard» pulling, which can create tension.
- Sealing: Apply sanitary silicone along the wall joint and around cutouts, smoothing the joint.
2) On brackets (cantilever installation)
Suitable for «floating» countertops and narrow spaces, makes floor cleaning easier. Use reinforced brackets designed to support the weight of the countertop and dynamic loads.
- Marking with a level and finding a solid base (concrete/brick; plasterboard requires embedded parts).
- Anchoring fasteners, checking for horizontal alignment and play.
- Fitting the countertop on brackets and securing according to the manufacturer’s recommendations.
- Sealing the joints to the wall and around plumbing inlets.
3) In a niche between walls (built-in countertop)
Provides a neat appearance, but is demanding regarding geometry: walls are rarely perfectly parallel. Typically, technological gaps are left and covered with sealant or a neat joint.
- A cardboard/hardboard template helps account for wall «sags» and unevenness.
- Supports: perimeter slats/corners, or side walls of furniture.
- Expansion gaps are important for materials sensitive to temperature changes.
4) Surface/Inset/Undermount Sink: Impact on Installation
The type of sink determines the requirements for the cutout, edge treatment, and sealing.
- Surface-mounted: simpler in terms of cutout (usually the drain hole), it’s important to plan the faucet height and wall splash protection in advance.
- Inset: a precise cutout using a template, sealant along the edge, and uniform tightening of the fasteners are required.
- Undermount: moisture protection of the cutout edge and the quality of the adhesive/mechanical fastening are critical; stone/quartz are often chosen.
Measurement of the bowl and vanity: tolerances, inspection points, accounting for wall curvature
Accurate measurements are key to ensuring the bathroom countertop fits correctly, and the bowl and vanity fit into the designed position without any cutting or gaps near the wall.
Check dimensions not by a single value, but by a system of control points: the cabinet’s geometry, the actual shape of the bowl, the actual curvature of the walls, and the presence of protrusions (tiles, edges, frames, trim) directly affect the final trim and fit.
Measurement Procedure and Control Points
- Cabinet: Measure the width, depth, and diagonals of the top plane (or the plane on which the countertop rests). Misalignment of the diagonals indicates a «diamond» shape and the need to include compensation.
- Heights and Level: Check the horizontal alignment of the top of the cabinet in both directions. If there is a difference in height, plan the adjustment of the legs/supports in advance, otherwise the countertop will bend.
- Anchoring to walls: Measure the distances from the front edge of the cabinet to the wall on the left/right and center to see the wall’s slope and determine where to allow for trimming.
- Sink: Measure the actual dimensions along the mounting contour (outside dimensions/mortise template/support collar – depending on the type). Check for symmetry and repeatability of the dimensions in several places.
Choose tolerances and allowances based on the countertop material and the way it connects to the wall: the more rigid the material and the more uneven the wall, the more important it is to leave room for trimming and sealant.
Accounting for the curvature of the walls: measure the wall not with one tape measure, but with a series of measurements every 200–300 mm for the countertop depth. If the wall is wavy, plan to either trim the countertop using a template or use a skirting board to cover minor irregularities.
- Make a template for trimming from thick cardboard or hardboard: transfer the actual wall profile to the template, then to the countertop.
- Critical areas are corners and tile-to-frame joints: these are where «bellies» and dips most often appear.
- Don’t include a zero gap against the wall: even with a perfect trim, a technological joint for sealant is required.
Bottom Line: Correct measurements require checking the cabinet geometry, the actual dimensions of the bowl, and the actual wall profile, recording control points and tolerances. This approach reduces the risk of chipping during trimming, eliminates distortions, and helps to achieve a smooth fit and a neat sealing seam.